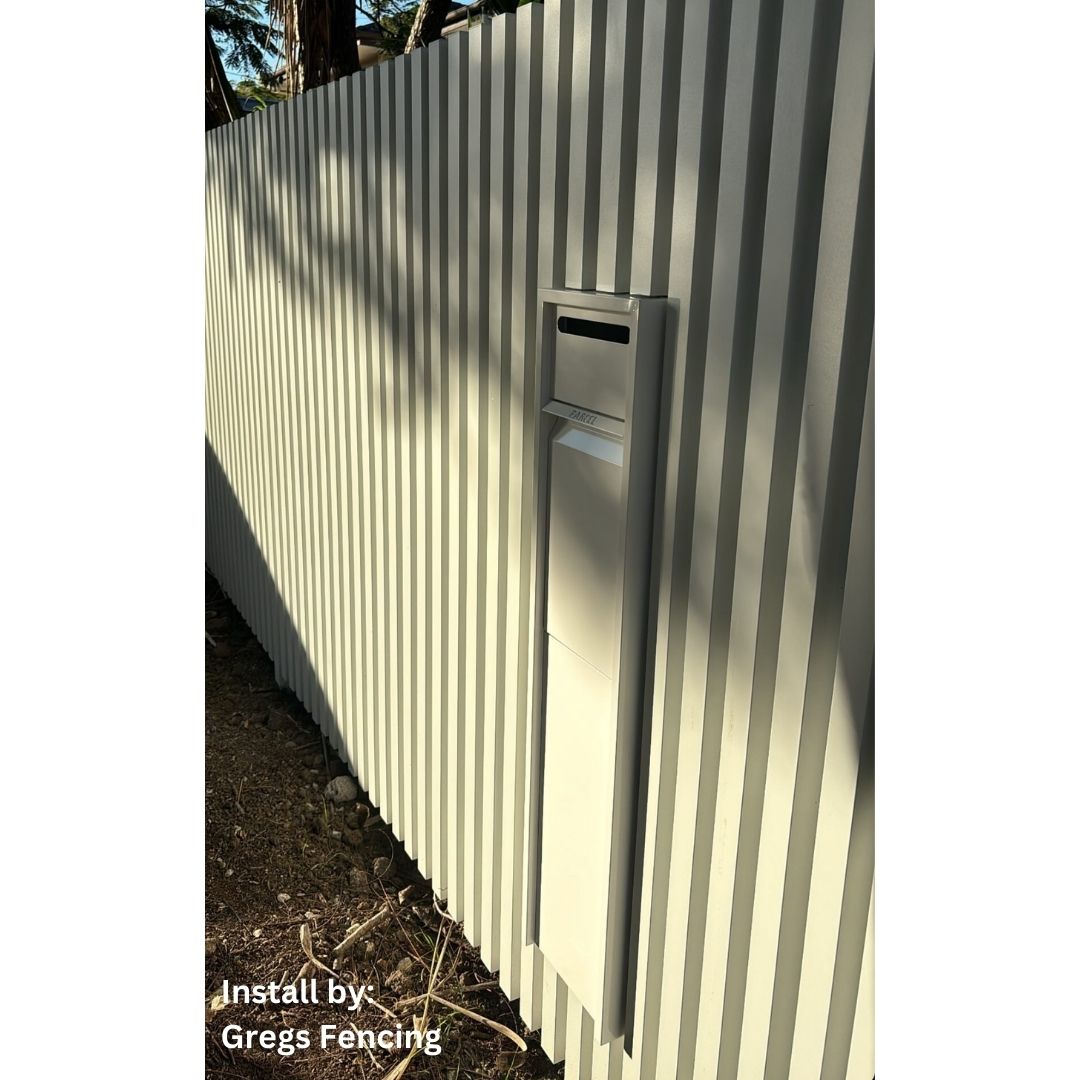
Letterbox Integration
The process of installing a letterbox into a Future Fence will vary slightly depending on the size and style of the letterbox chosen. The steps below provide a general guide and should be read in conjunction with your letterbox supplier's instructions:
Evaluate Existing Rails against Chosen Letterbox: Determine whether the existing top or bottom rail of the fence can serve as the resting base for the letterbox (refer to video below where existing bottom rail has been used as a support in addition to a new supporting rail at the top).
Determine & Mark the Cut Area: Your letterbox supplier should provide the opening specifications for your letterbox. Carefully measure and mark the area to be cut using painters tape. Extend the taped to surrounding areas to prevent the fence from being marked whilst cutting
Cut the Panel: Use a power saw (ideally a circular saw) with an aluminium cutting blade to create the opening for the letterbox.
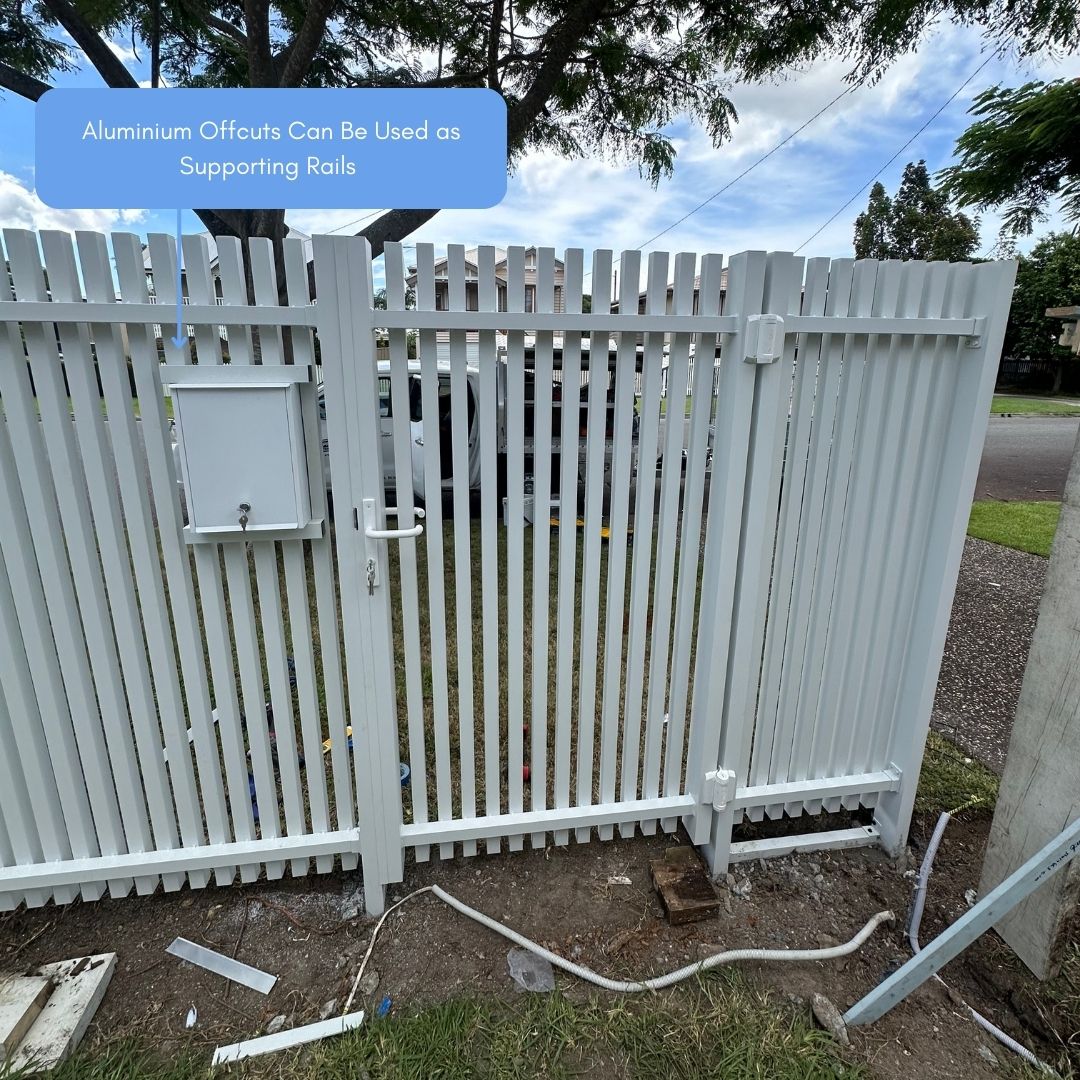
Add Support Rails: Using either an aluminium offcut or a piece of painted timber, you will need to add in new supporting rails across the top and bottom of the cut area. Ensure the supporting rails span further than the cut area to connect with the next slats on either side that have not been cut. Fixings may be concealed within the sides of the new supporting rail for a seamless finish. This process reinforces the structure and provides a secure foundation for the letterbox.
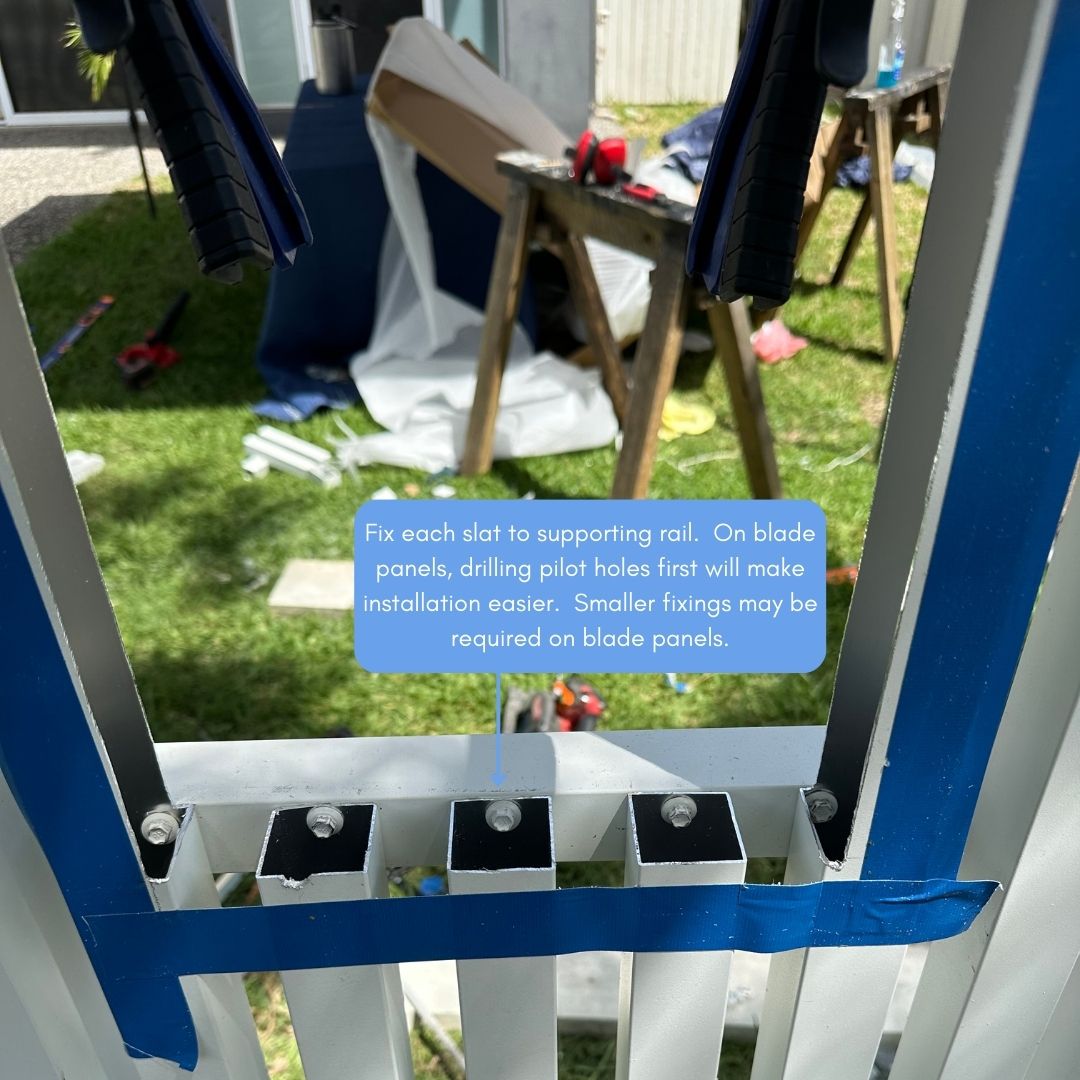
Reattach the Vertical Slats: Attach the cut slat to the new supporting rails, either from the front or behind, depending on your desired finish.
Finish with Caps: To complete the installation, use caps to plug the sides of the new supporting rails. If you need additional caps, our support team is here to help.
Following these steps will ensure a durable and sleek integration of a letterbox into your new Future Fence.